How to Launch your AI Project with PyTorch in 2 Minutes Using Bunnyshell Templates
*This is a short how-to guide on setting up a PyTorch and Python environment using Bunnyshell Templates for an AI project.
When I recently started to dive deeper into AI, I wanted to experiment with the technical aspects of an AI project. However, I quickly became overwhelmed and unsure of where to begin. To find a solution, I asked my colleagues at Bunnyshell for support, and together we created a Bunnyshell environment template with PyTorch that provides a fast and easy starting point for AI development.
The result is the “Hello world” for AI. 👋
The project includes two components, a frontend and a backend — an image recognition application. You can customize and expand the template by adding more components, such as APIs, queues, caches, or block storage.
Here are the steps to get started:
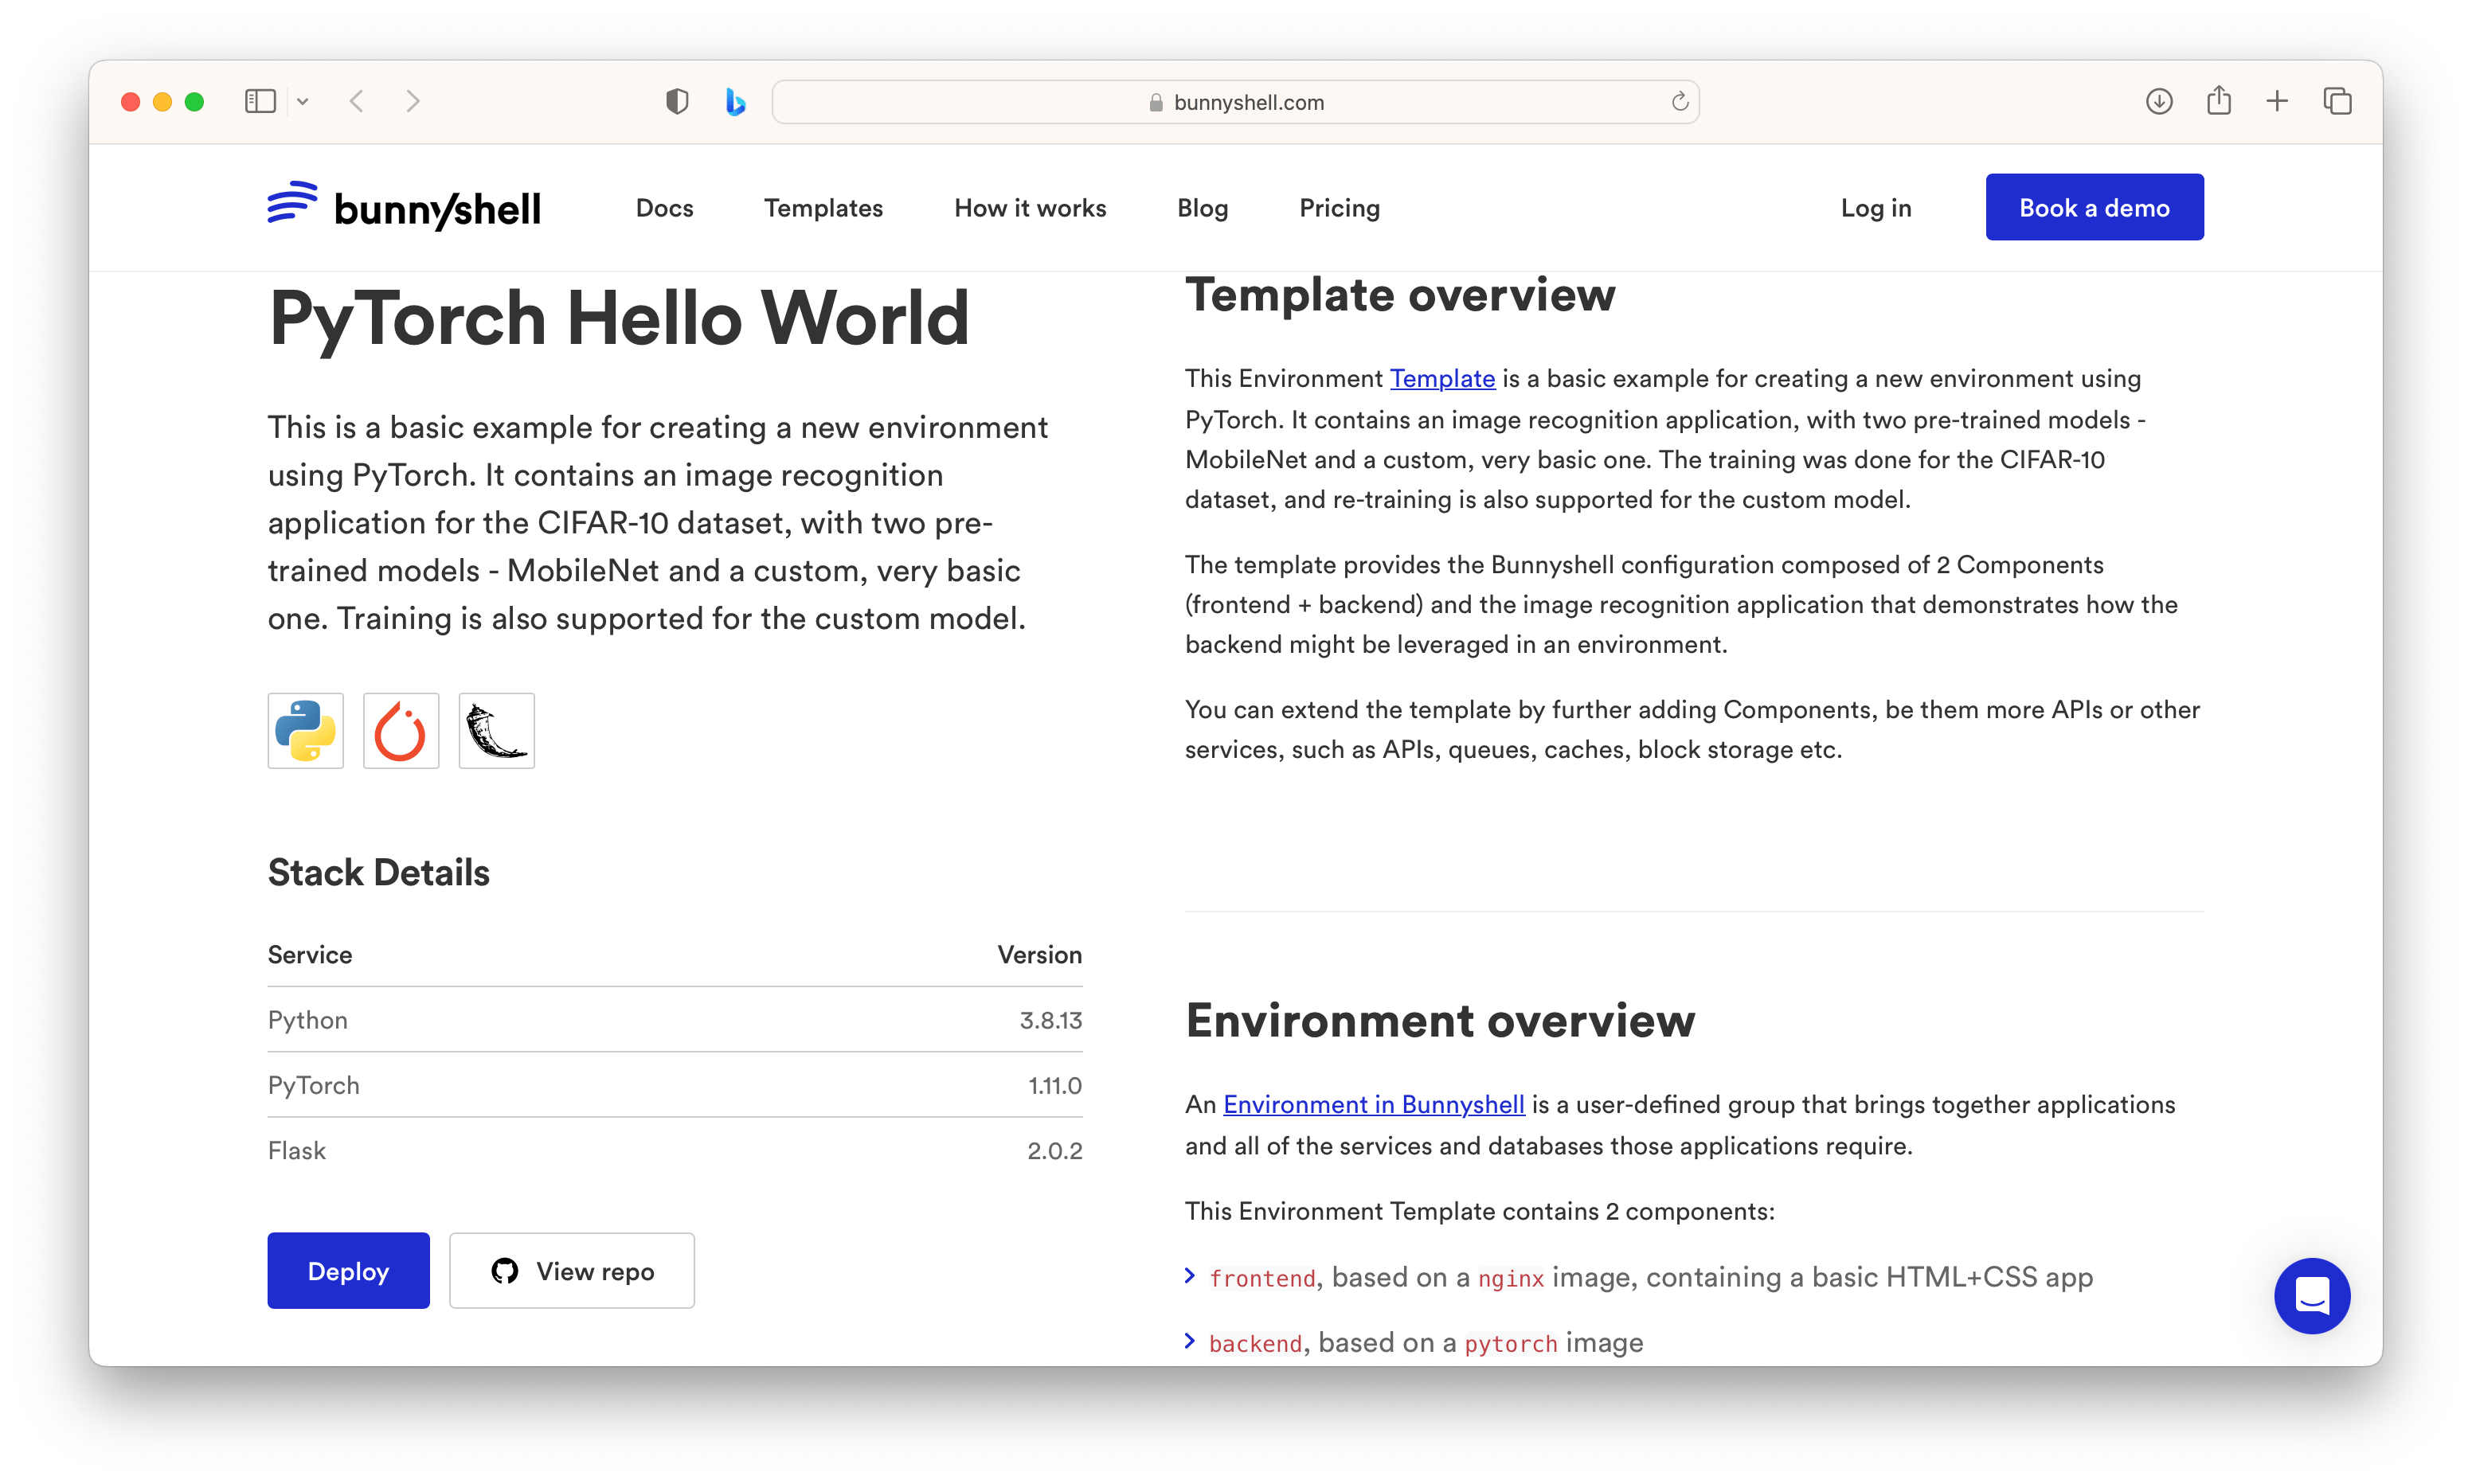
Step 1. Deploy a PyTorch Environment
Create a new development environment in Bunnyshell by clicking the “Deploy” button in the following PyTorch Environment Template.
Step 2. Bunnyshell automatically deploys PyTorch environment
It’s deployed on Bunnyshell’s cluster for testing purposes. Alternatively, you can create your own cluster.
The environment is usually ready within 2–3 minutes.
After the environment is ready, you can access the frontend component by clicking on the link provided in the ‘URLs’ section. SSL certificate has been automatically configured by Bunnyshell.
Notes: The environment features an image recognition application with two pre-trained models — MobileNet and a custom basic one. The training was done for the CIFAR-10 dataset, and re-training is supported for the custom model.
Now that the environment has been deployed successfully, you can start coding and testing.
Step 3. Start Coding
From here you have two options:
Option 1) Traditional Development Process: Commit, Build, Deploy.
- Clone/fork the original Template repositories, so you have the code separated, in a new, distinct repository.
- Modify the gitRepo properties in bunnyshell.yaml for each of the Components, so they point to your new repositories.
You can modify the gitRepo in the Bunnyshell YAML file, which is visible here.
Option 2) Remote Development
Here’s a new article I wrote about: How to Start Remote Development on a PyTorch Environment. It outlines each step you need to take to do remote development on this PyTorch environment using Bunnyshell.
Here is article about remote development. The Future of Development: Will Remote Take Over Local?
Have fun coding! 🚀
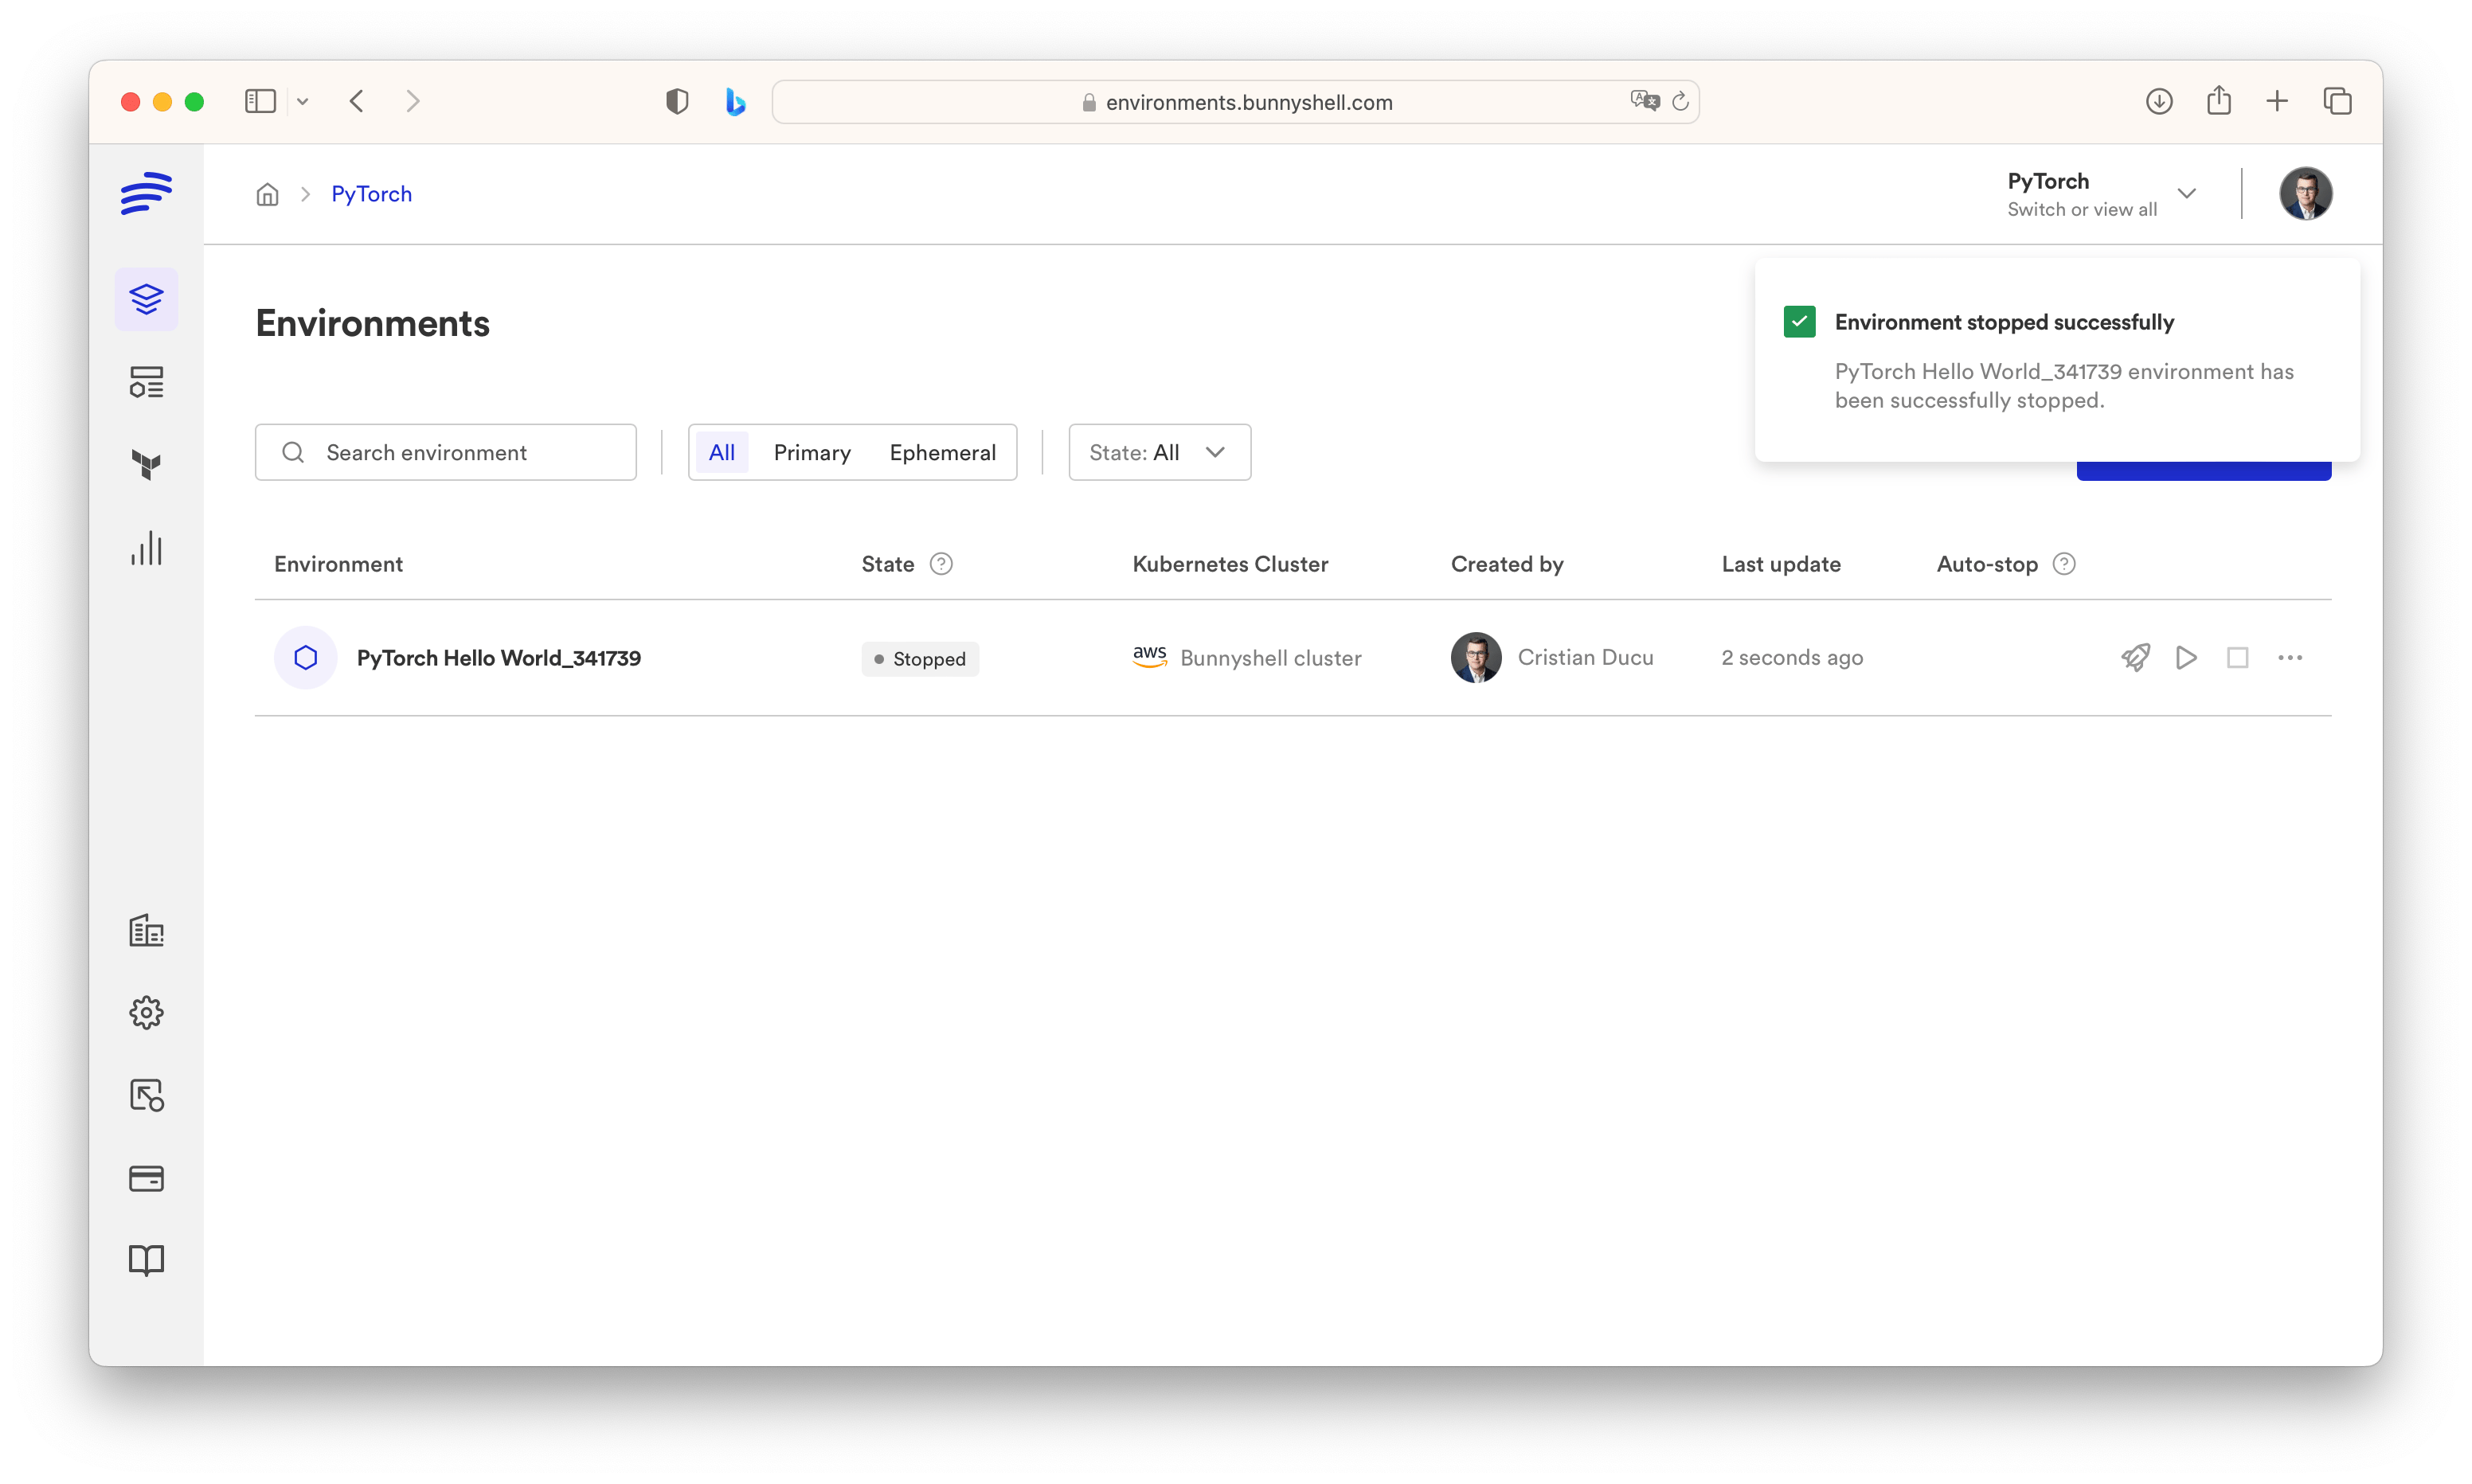
One more thing.
Save money. Don’t forget to stop the enviroment. You can restart it anytime.